Deploying a Landing Zone with AWS Control Tower - Part 1
One of the first starting points for many organisations using Public Cloud is the establishment of a Landing Zone. A Landing Zone is a well-architected, multi-account environment that’s based on security and compliance best practices..
There are several reasons why organisations leverage a multi-account strategy including but not limited to:
- Service Quotas: Each AWS Service typically has a number of different quotas; some of these are soft limits that can be increased by requesting an increase in the limit through a support ticket whilst others have hard limits that cannot be increased.
- Limiting the Blast Radius: As an AWS Account is a boundary of isolation, potential risks and threats can be contained within an account without affecting others.
- Security Controls: Workloads may have different complianye needs based on the Industry or the Geographical location. Whilst there are synergies between the different compliancy frameworks, the Security Controls that are implemented to help achieve the compliance may need to be implemented in a slightly different manner or may not be required at all.
- Billing Separation: AWS Accounts are the only real way to separate items at a billing level e.g. Data Transfer costs.
When I first started using AWS in 2016 there was no pre-packaged solution for a Landing Zone; there were several recommendations provided by AWS but in essence it was something that organizations had to build themselves.
The Landing Zone Implementation was then developed by several different teams at AWS to help Clients expedite the setup and creation of their Landing Zones through the use of automation. This solution accelerator provided extensible capabilities to manage the most complex and advanced environments. However, one of the downsides of it was the fact that it was not officially supported by AWS Support meaning that any issues typically required costly engagements with Professional Services or Partners to remediate.
AWS Control Tower came about as the successor to the AWS Landing Zone solution which is currently in Long-term Support and will not receive any additional features which technically was never officially supported by AWS Support. It’s still a relatively new service in AWS Terms having only been made GA in June 2019, although since then it has been enhanced considerably with new features and functionality as well as being made available in more regions. A key differential of Control Tower is that its an AWS Managed Service whilst providing parity with the functionality of what the Landing Zone Implementation does.
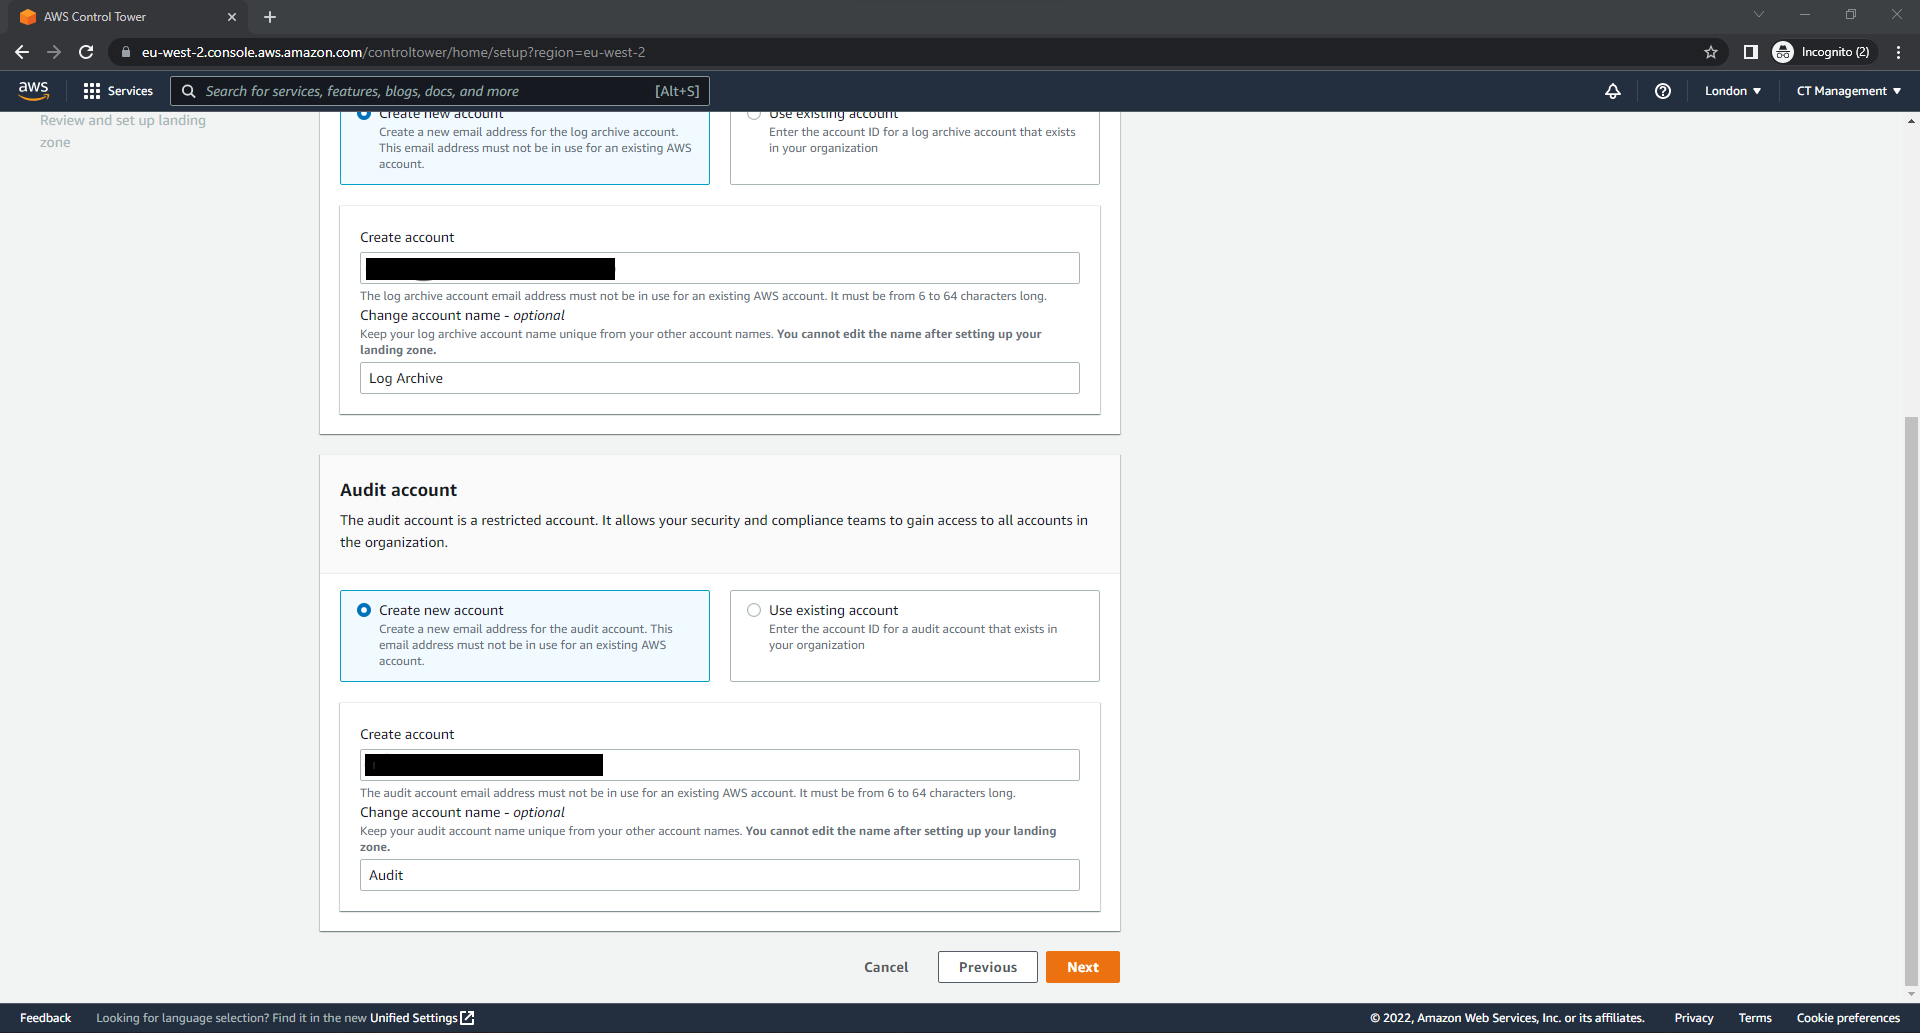
Prior to setting up Control Tower, there is a dependency on having 2 unique e-mail addresses that aren’t already associated with an AWS Account. These will be used for creation of the Audit and Log Archive Accounts that Control Tower will provision during the setup. The following section will walk you through the setup of Control Tower within an AWS Account that is not part of an existing AWS Organization.
Setting up Control Tower
- Login to the AWS Management Console using an Account with administrative permissions and switch to the AWS Region that you’re going to use as the Home Region e.g., eu-west-2 (London).
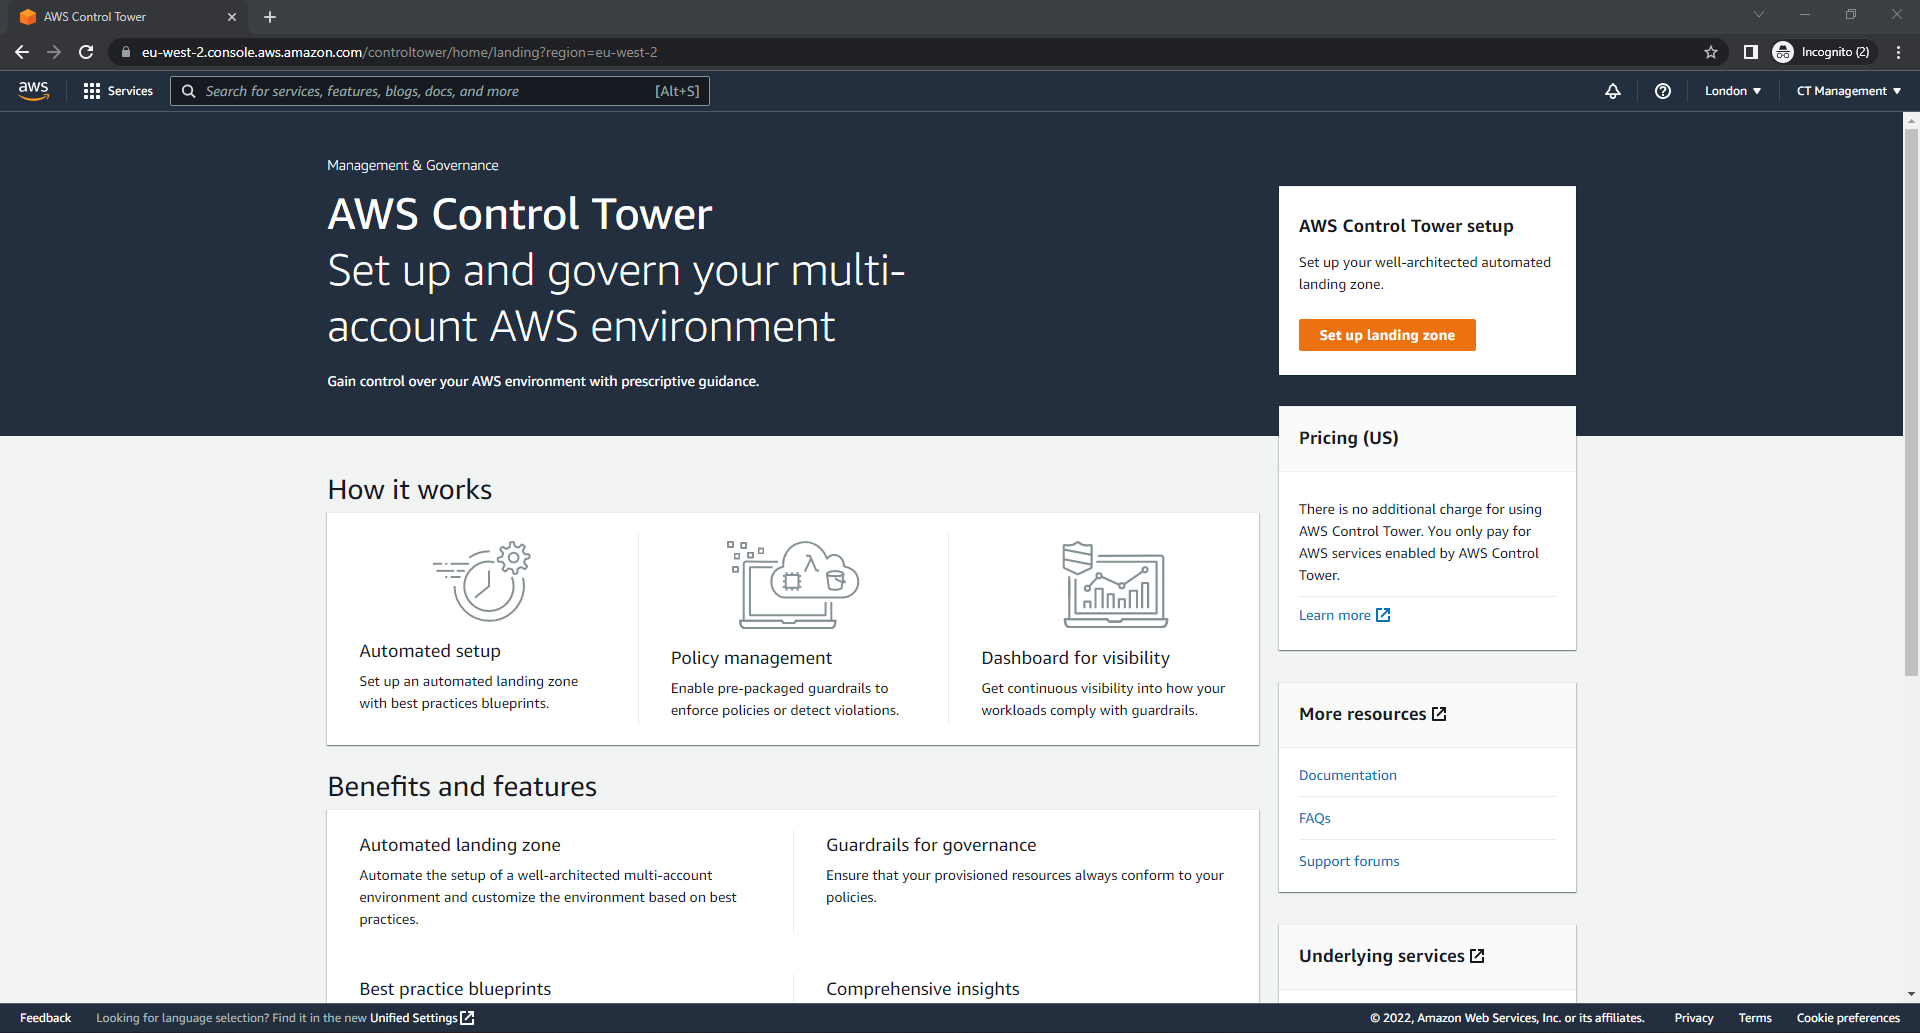
- Navigate to the Control Tower Service.
- Click Set up landing zone
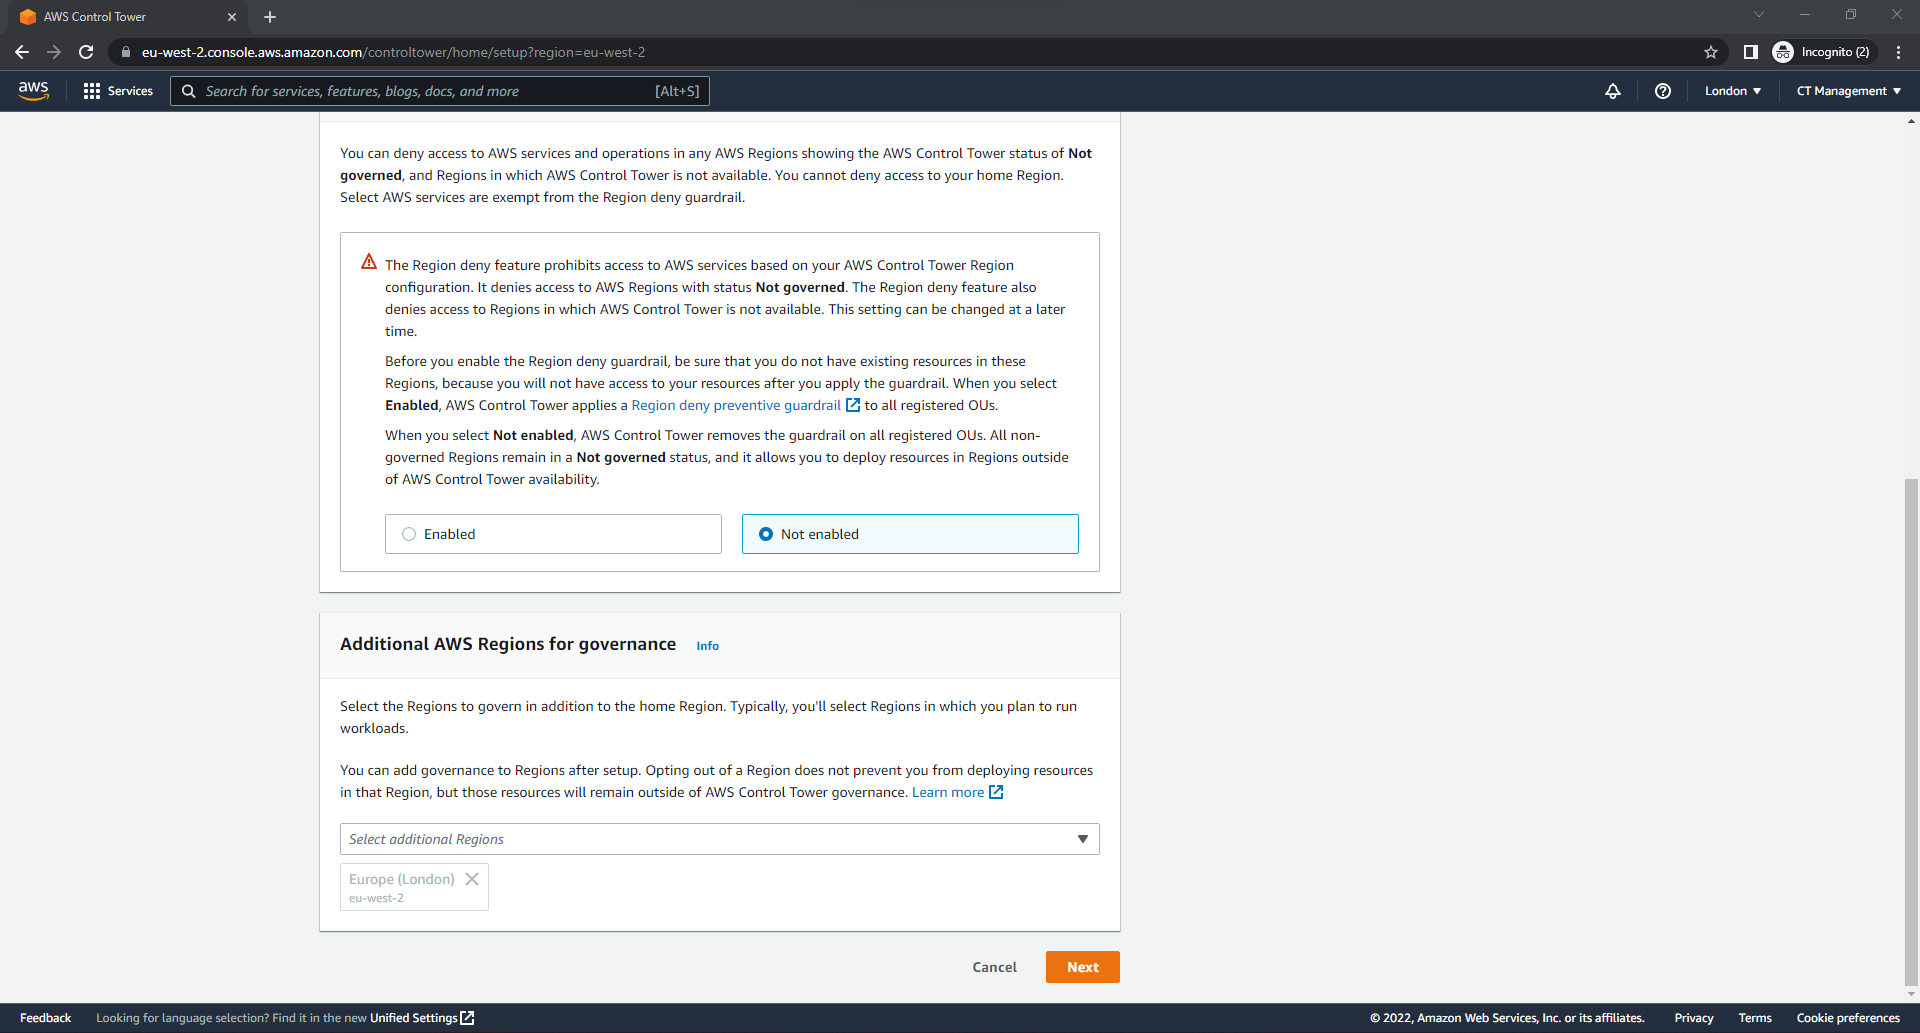
- On the Review pricing and select Regions page, Ensure that the Home Region is set to the region that you want.
- Under the Region deny settings section, Click Disabled. If you wish to change this setting later it can be easily modified.
- Under the Additional AWS Regions for governance section , leave it as it is for the time being. If you wish to add additional regions to be governed later it can be easily modified.
- Click Next.
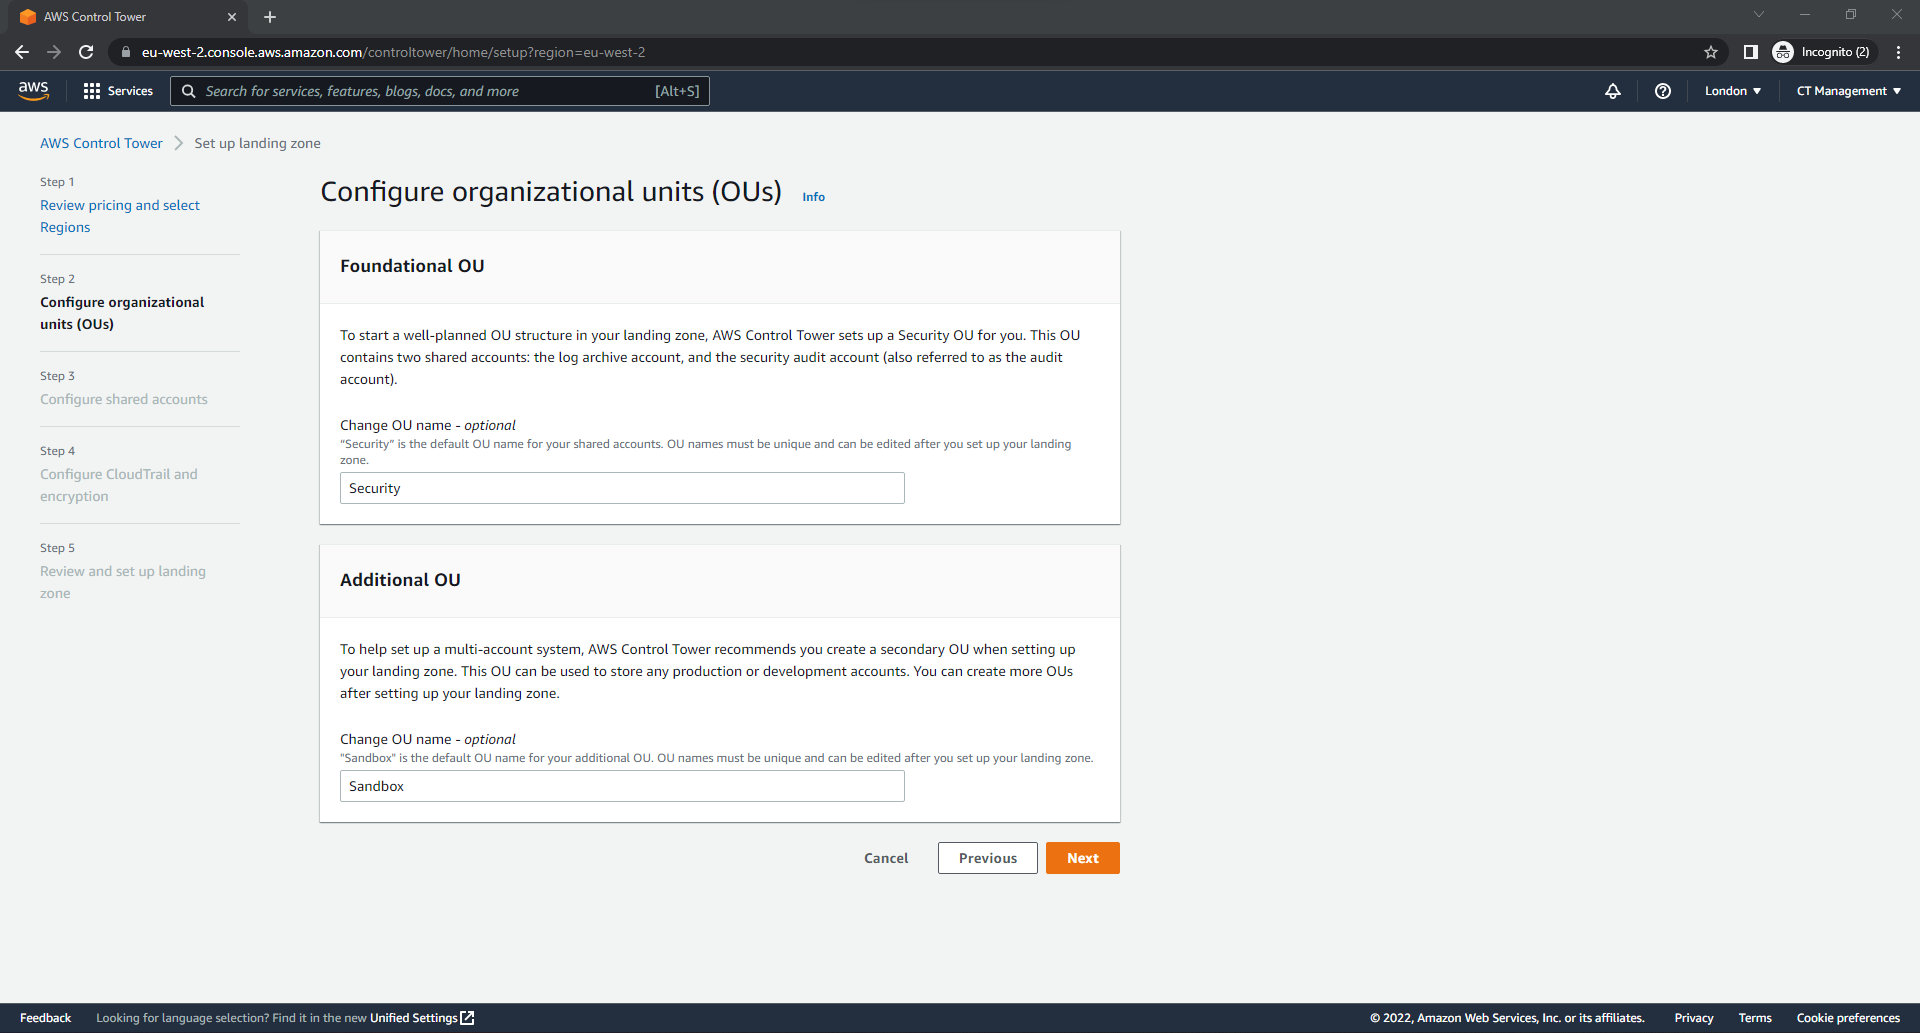
- On the Configure organizational units (OUs) page, Click Next.
- On the Configure shared accounts page, Under the Log archive account and Audit account sections enter the corresponding e-mail addresses that you created as a pre-requisite for the deployment and then Click Next.
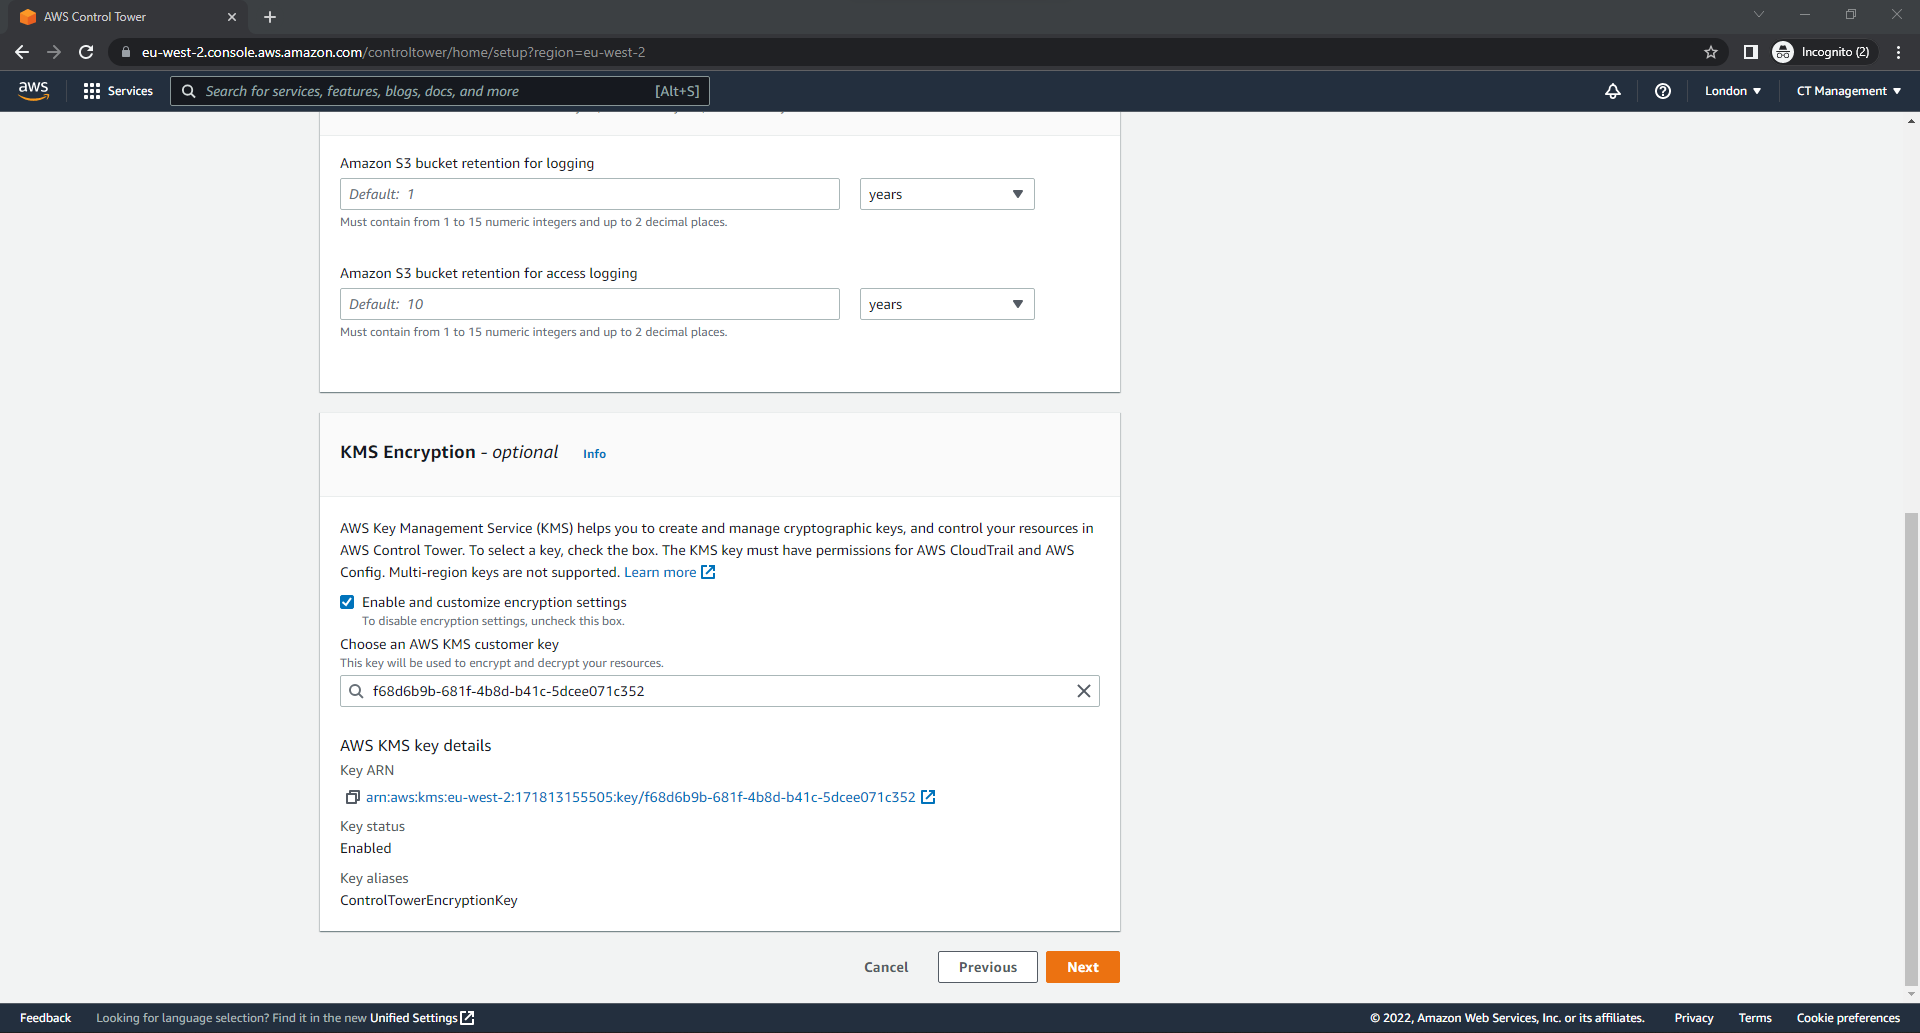
- On the Configure CloudTrail and encryption page; Under the AWS CloudTrail configuration section, Ensure that its set to Enabled.
- Under the Log configuration for Amazon S3 section, Configure the retention policy as per your requirements.
- Under the KMS Encryption section, Select Enable and customize encryption settings and then Click Create a KMS Key.
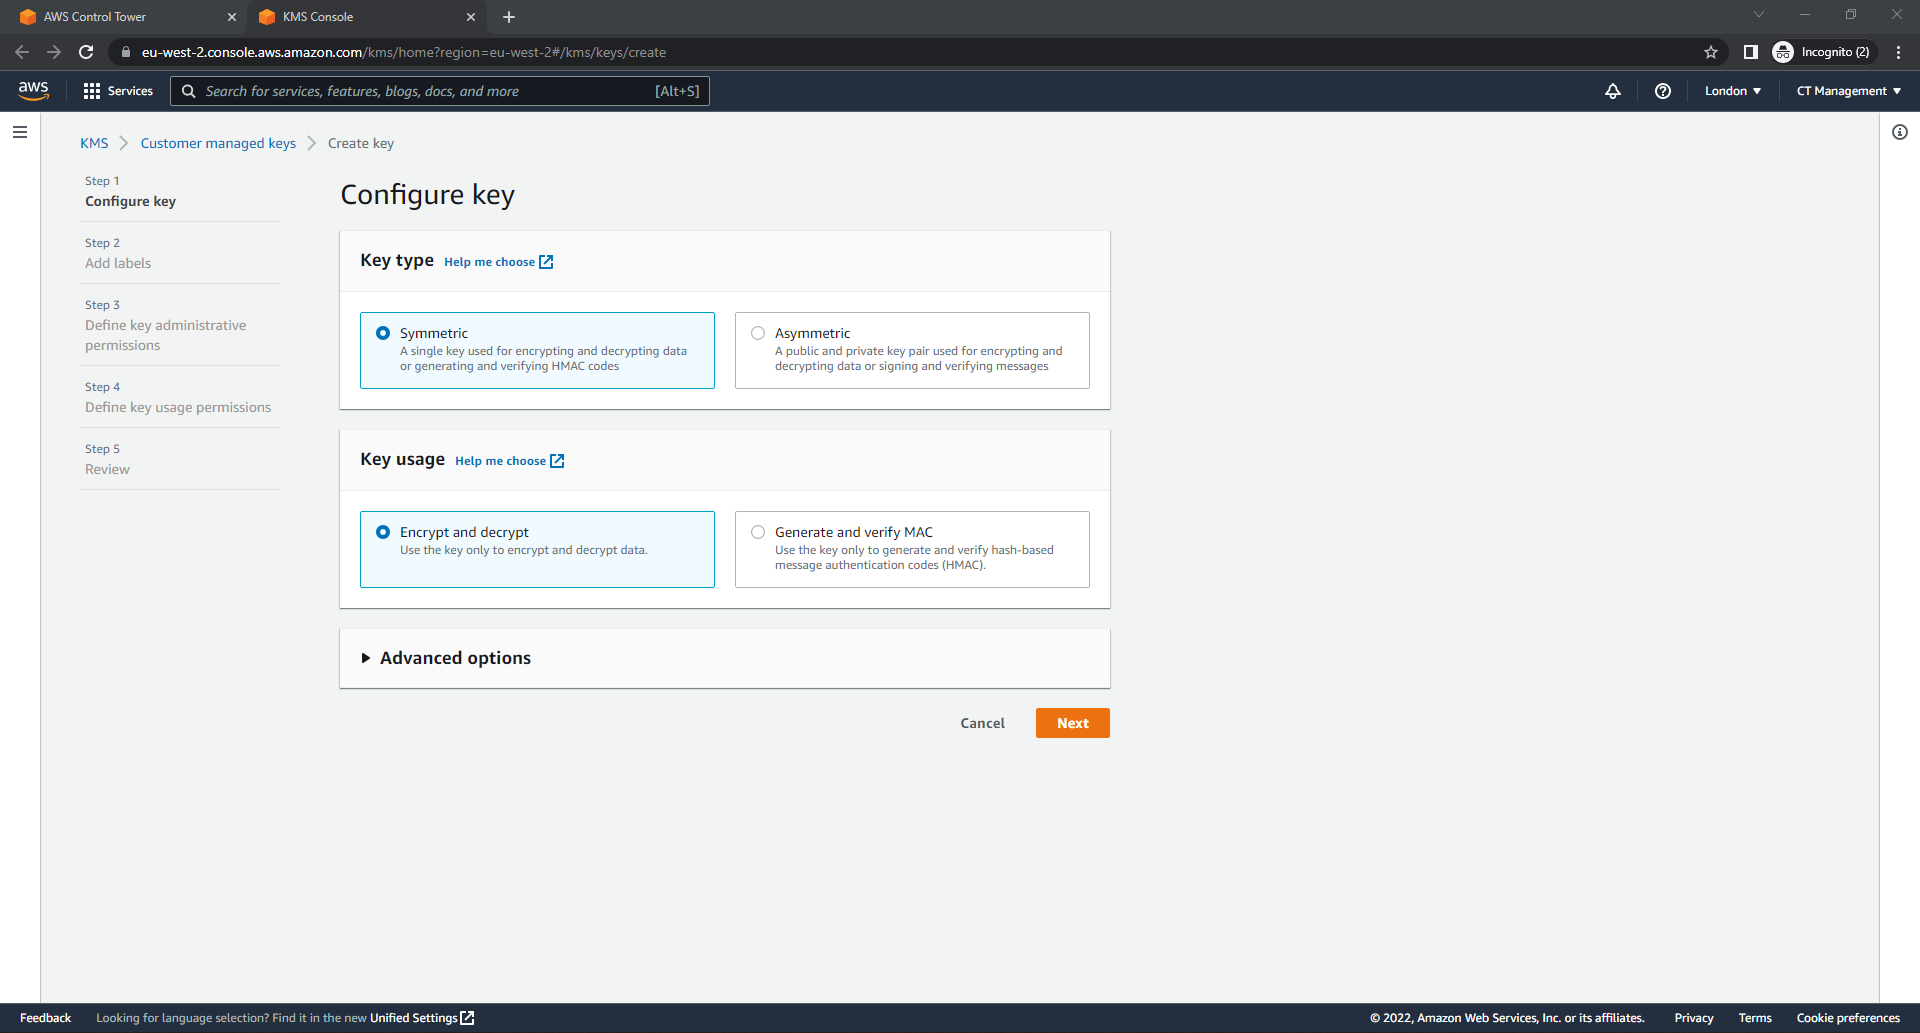
This will now open a new browser tab and start the process of creating a Customer Managed Key.
- On the Configure key page, Click Next.
- On the Add labels page; Under the Alias section, Enter an Alias for the CMK. In this case I’ve used ControlTowerEncryptionKey.
- Under the Description section, Enter a description. In this case I’ve used Control Tower Encryption Key for CloudTrail.
- Click Next.
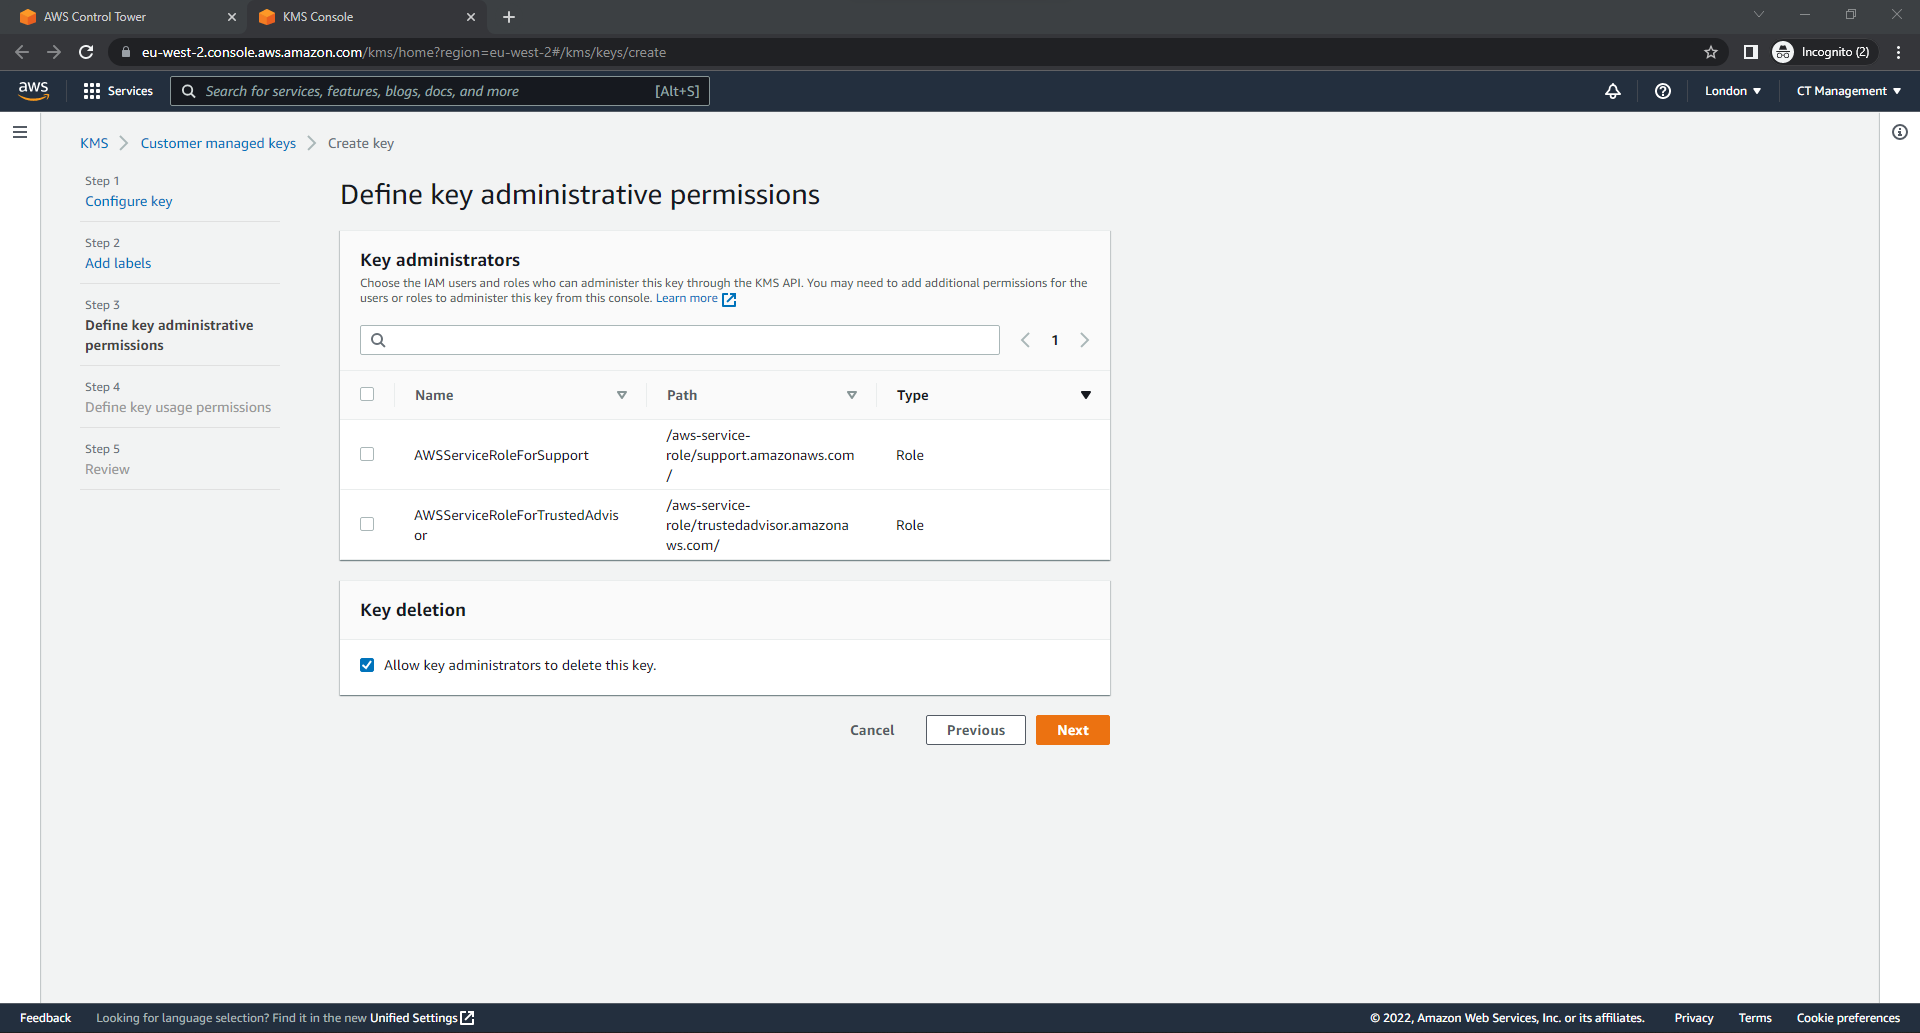
- On the Define key administrative permissions page, Click Next.
- On the Define key usage permissions page, Click Next.
- On the Review page, Click Finish.
Switch back to the browser tab with the Control Tower Setup.
- Under the KMS Encryption section; Select the KMS CMK that was just created and then Click Next.
- On the Review and set up landing zone page, Review the configuration settings and Ciick Set up landing zone.
Control Tower will then start the process of setting up the Landing Zone and will take approximately 30-45 minutes.
In Part 2 of this Walkthrough, I’ll continue with the initial post-deployment activities within Control Tower including Organisations and Guardrails.

